Requirement :
- Basic DECALMachine knowledge
- Watch this decal creation video
DM is a powerful tool, I love using it and it saves me a bunch of time. After a couple weeks of using it, I needed some custom decals and I don't want to put a lot of time into decals modeling. I have a lot of alphas I use in substance painter, I gave some first test into blender, but it wasn't looking great but with some patience I found a way. It requires a bit of manipulation and time, but it's an evil for a good.
Decals creation
Start with a basic plane and add some subdiv modifiers, then add a Displace with "Texture Coordinates" on UV and "UV Map" on the uv map of your plane. For the Displace values, I'm moving between -0.50 -> 0.050, for me those values are enough, if you're too low you will not see the normal effect and if you're too high you will have polygons artifacts.
Just like this :

Note: The second Subdiv modifier is using the level "3", level 3 is your main base for almost every non-cylinder alphas. For cylinder alphas you need to add one more level (go to level 4) because if not you will not have enough geo on your plane and will have some low res artifacts. like here :
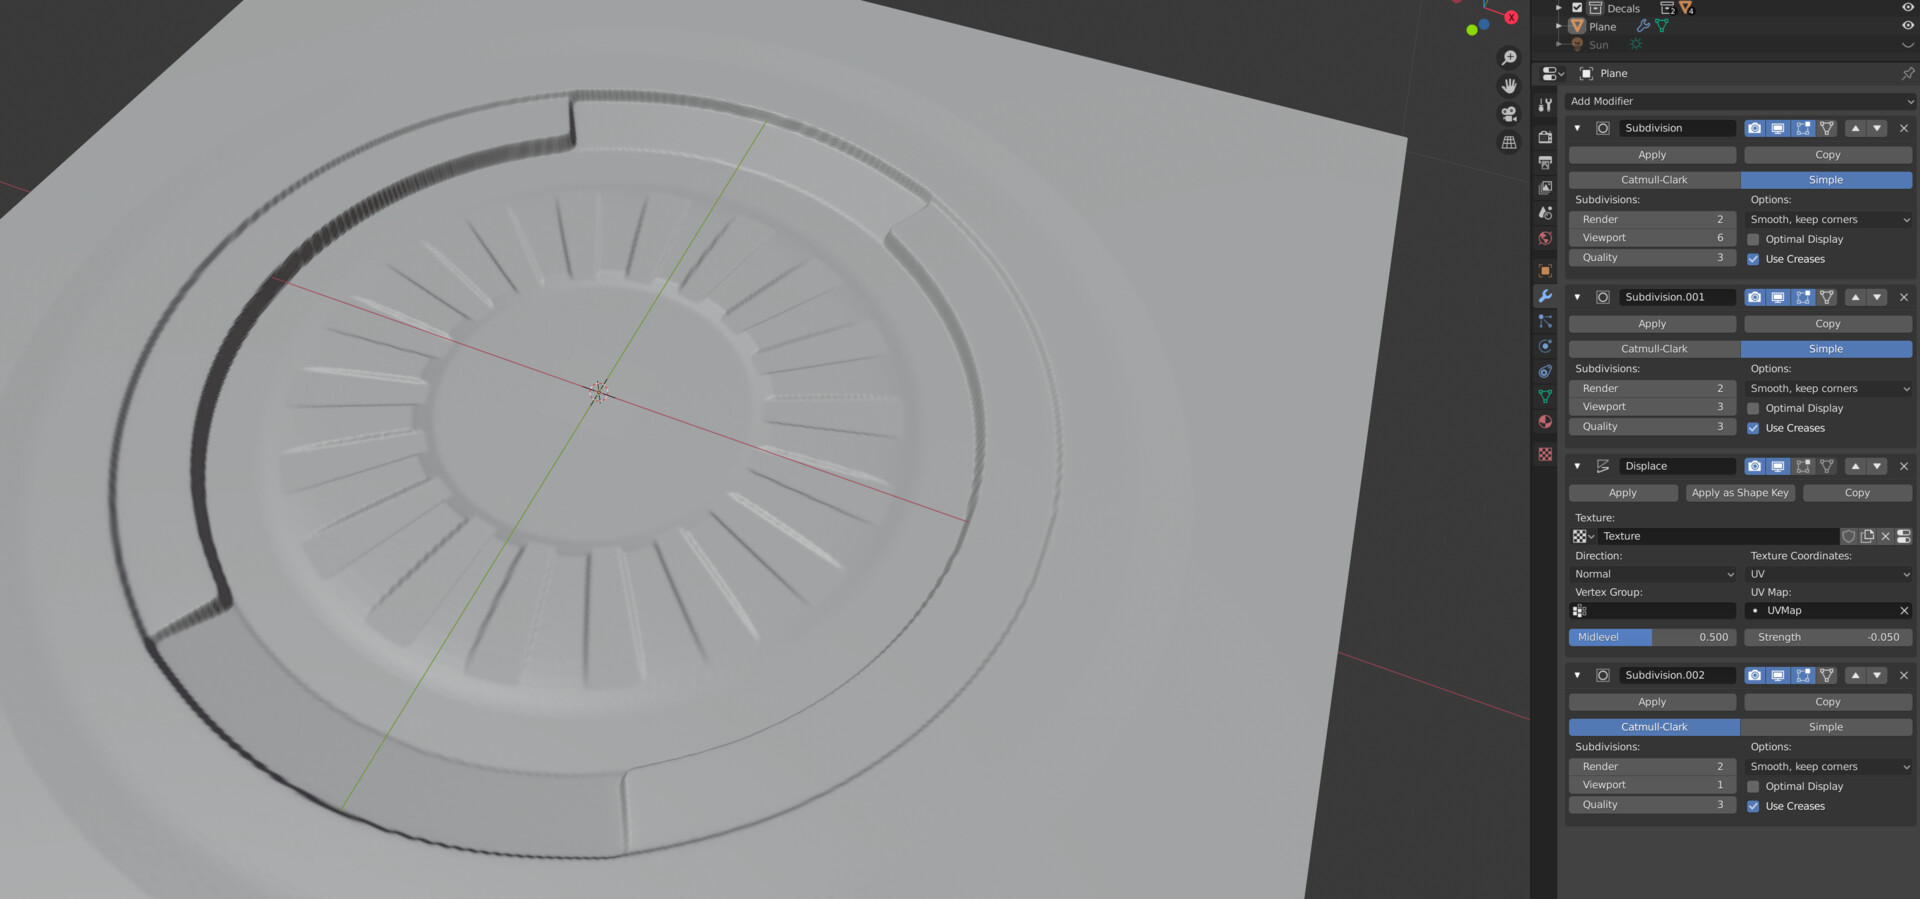
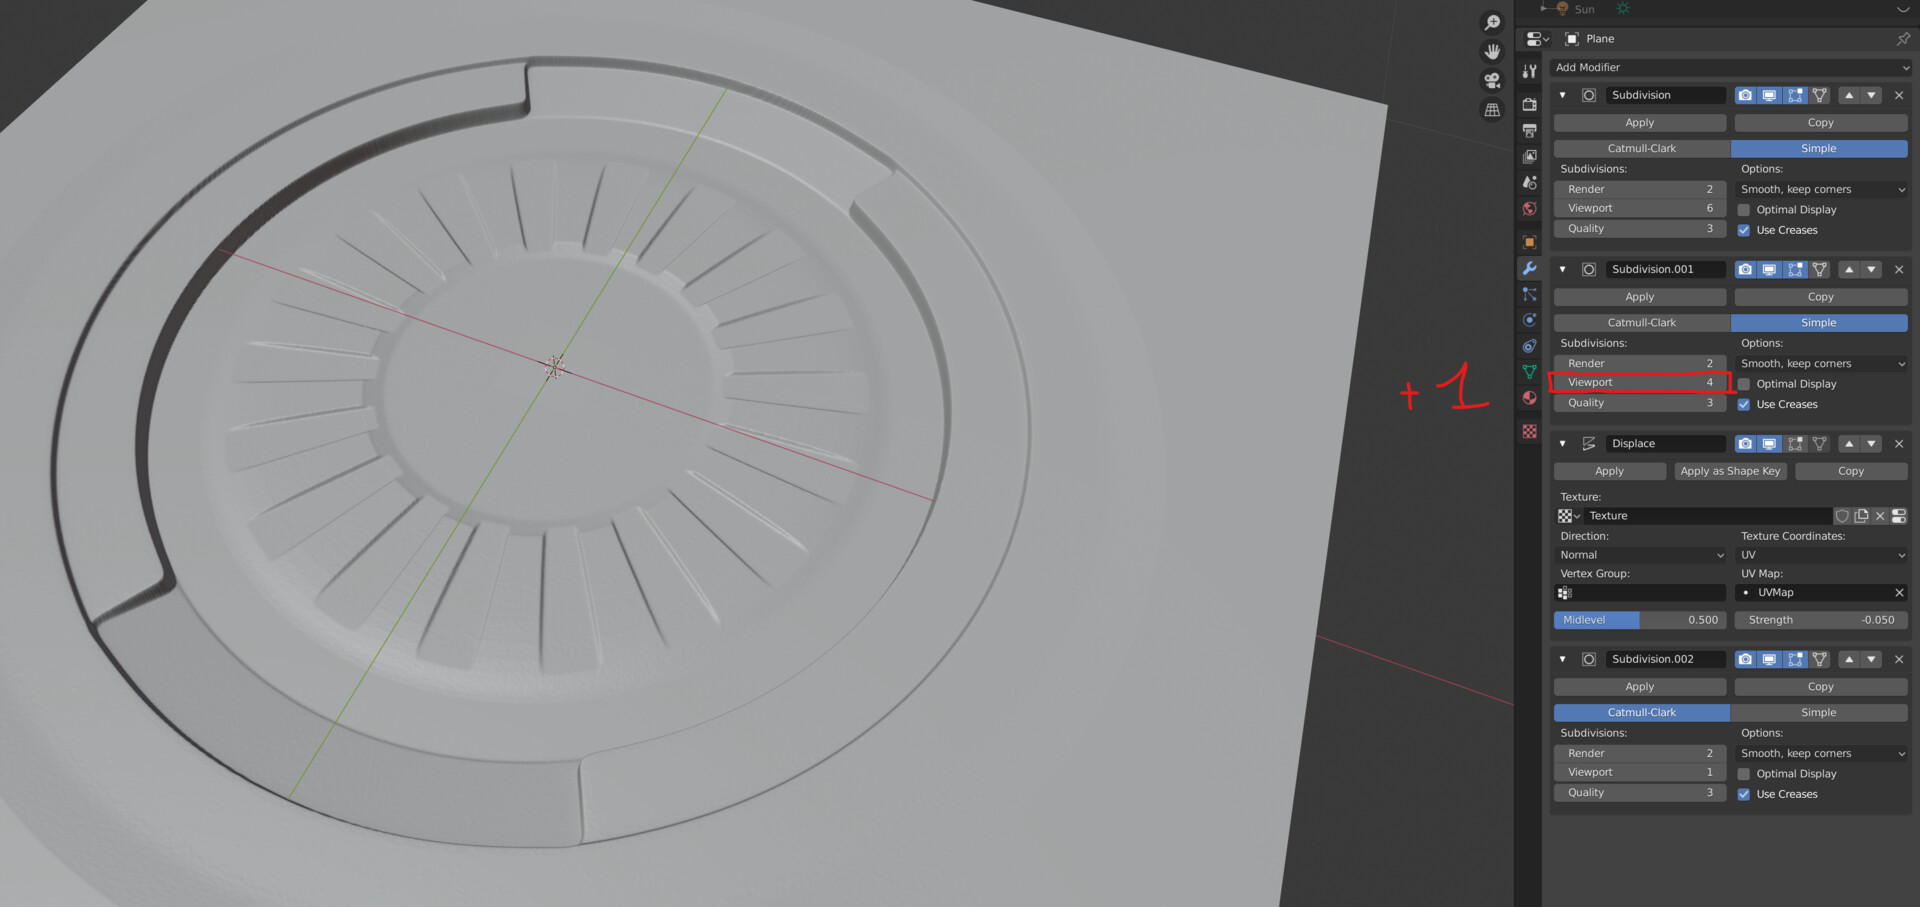
Note : The low geo artifact are still a bit present, but it's okay for the bake.
After your plane is correctly subdivided, just go to the texture panel (last one) and take your alpha :
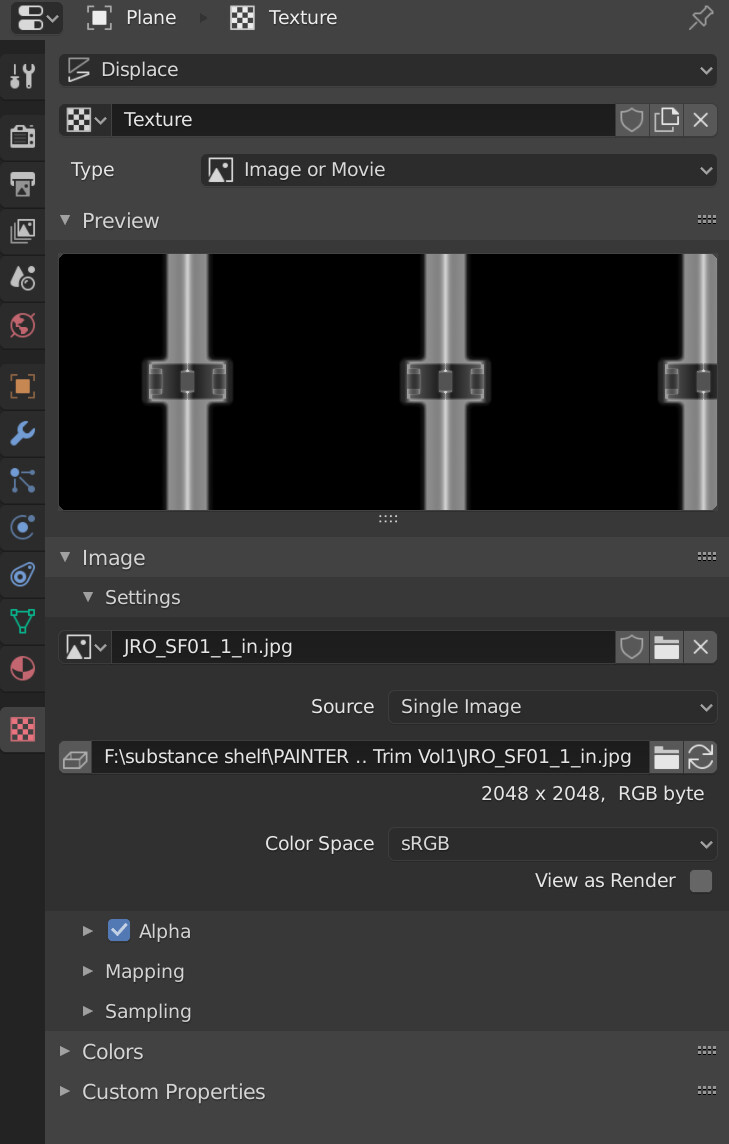
After that, just choose the right displace value, play with it and you will get something like that :

When you're happy with your mesh and everything is looking great, just open the DecalCreation Tab. Nothing crazing here if you know already how to create decals. The only point to keep in mind, the plane is subdiv a lot, it takes a bit of time to bake the decal (couple minutes) try to not go too crazy about the AA and the AO resolution. Baking in 256/512 is really enough for decals.

Note: I have reduced the Curvature Wid just for a test on the bake time, default is 1.
When the baking is done, you need to open substance designer (I use Designer to combine the original alpha into the normal alpha channel).
Why I'm doing this ? Simple, as you can see with your decals, DM baked the background, depending on the situation it can be annoying.
In designer, the setup is really easy, just import the alpha, add an "histogram scan" with almost 1 of value, add a small "blur hq grayscale" (I'm using a value of 2) and connect it to the grayscale input of the "alpha merge" node :


Note: the only change for the panel version is the transform 2D I use after the alpha bitmap
Next step is to save the new normalmap over the baked one, but not the one you imported. When DM baked the decal, he already merge the alpha and the normal, but for him, there's no alpha to bake because we didn't remove the plane background (too hard with the subdiv plane, I tried using an alpha mask directly in blender but DM don't detect it).
The file you need to replace is in this repository : "DECALmachine\assets\Create\instant\YOURBAKEDDECALNAME" and the file is the "nrm_alpha.png".
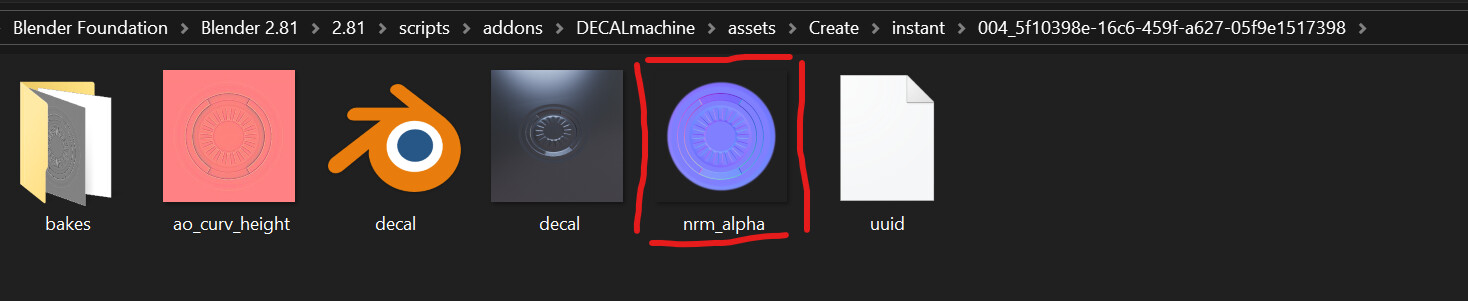
For basic decals you're done. You need to add the decals again into blender to see the modification or a quick restart. If you"re happy with it, just "add to my library" and it's done.
For panels, you need an extra work in photoshop, a small crop on the "nrm_alpha.png" and "ao_curv_height.png" (apply the same value on each) :


Final look :

Panels :
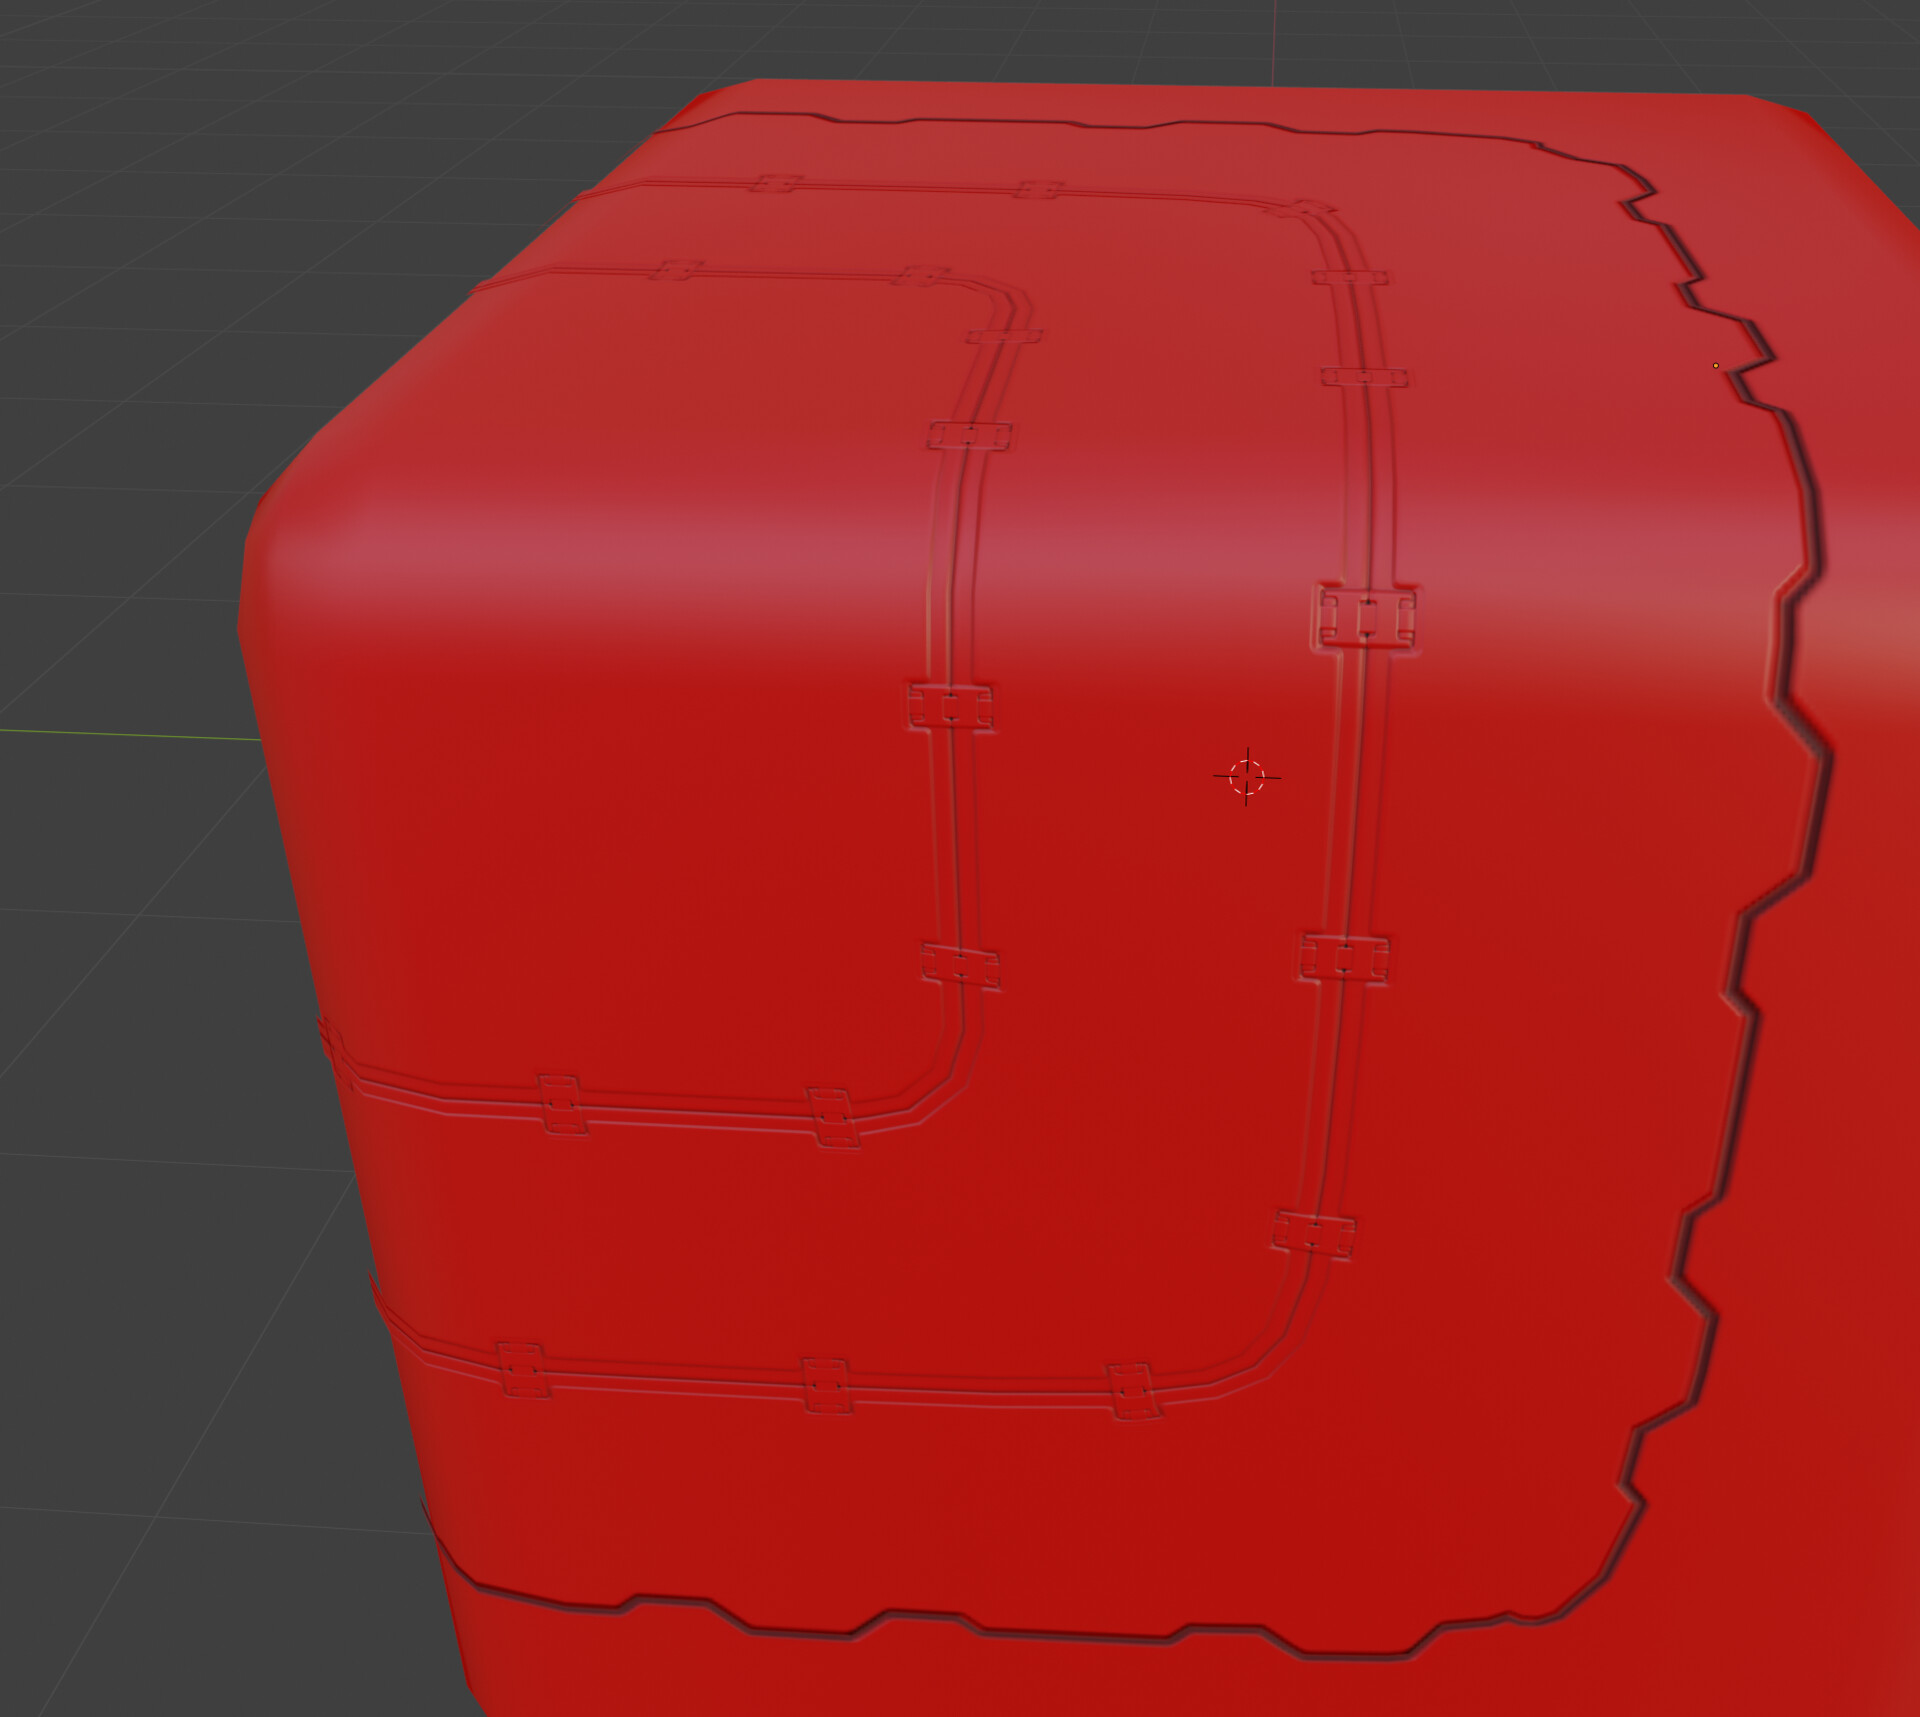
Note: I need to run more tests about the panels because there's some problems with the color attribution, for me, it's not a big deal because I'm using decals only for the normal side but it can be a bit annoying for some peoples.
I hope everything is clear enought, ask me anything if needed !